Manage Users in the Dashboard
The Invictus Dashboard allows you to access the application with multiple user accounts. These can be local users, managed by Invictus itself; or Active Directory users, managed by your Azure tenant.
Use Active Directory users over local users for security reasons.

- Active Directory
- Local
👤 Requires membership of a synced Active Directory group.
The Invictus Dashboard can be configured to use existing users in Azure Active Directory groups. This removes the need to work with additional local Dashboard users.
Add an Active Directory user to the Dashboard
Azure Active Directory users can sign in automatically into the Invictus Dashboard if that user is part of an Active Directory group that is synced into the Dashboard.
Make sure that the group has a role assigned, otherwise the Dashboard will be unusable for the user.
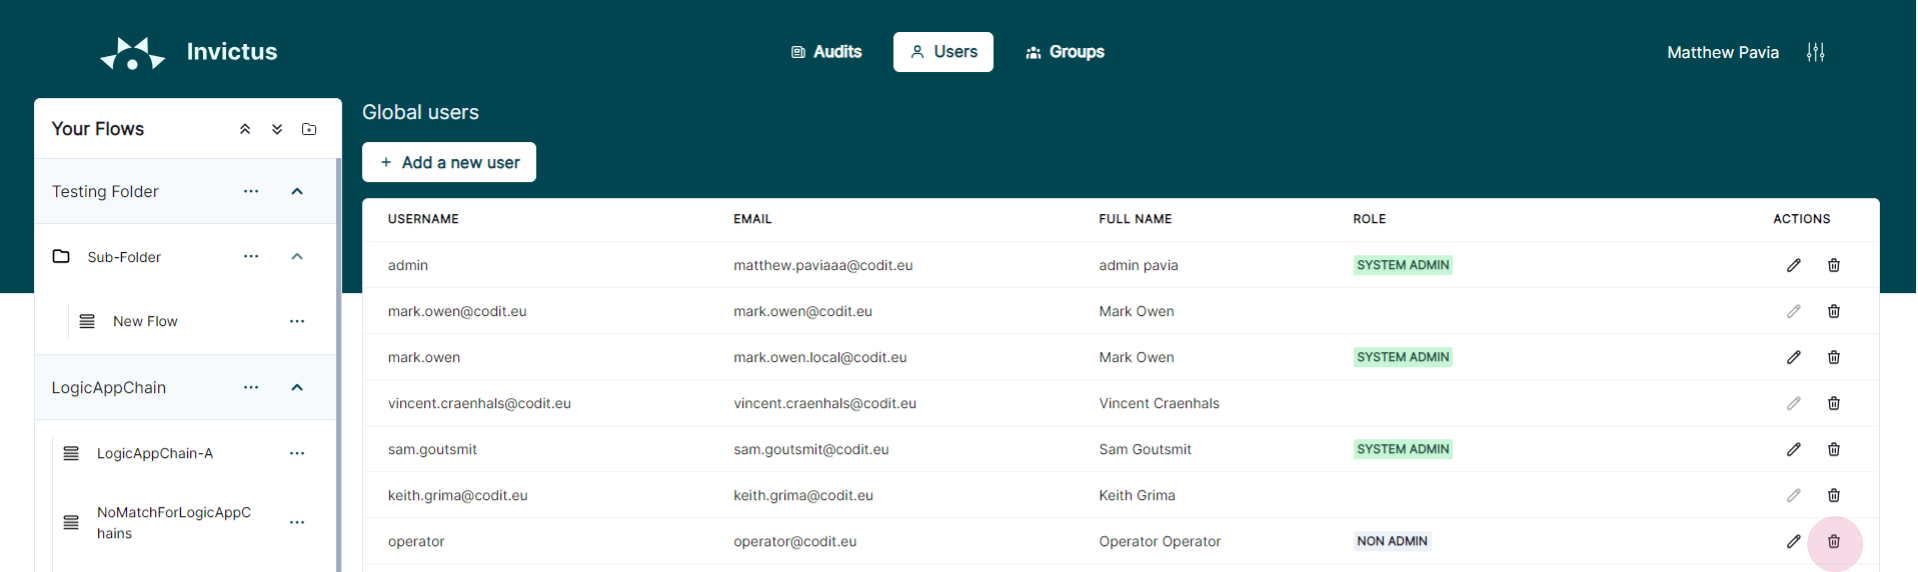
Delete an Active Directory user from the Dashboard Only Admins
To delete a user click on the delete icon next to the user in the user list.
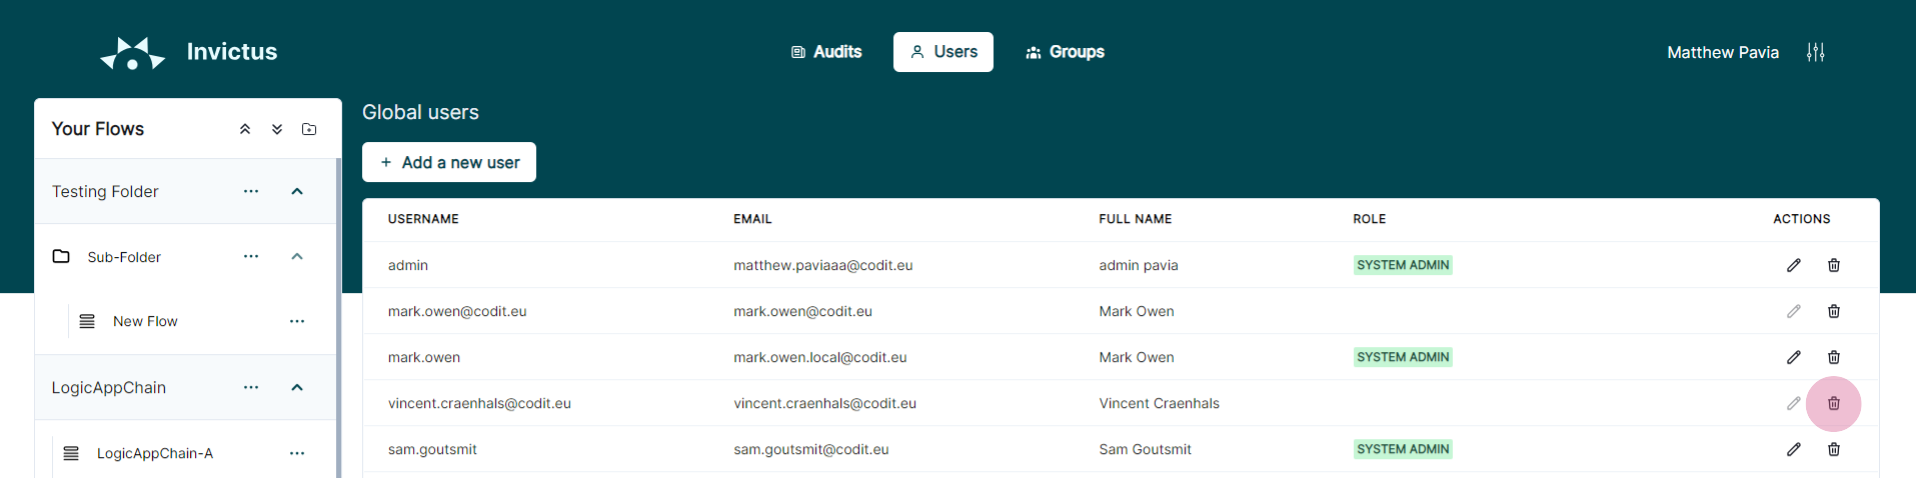
👀 Linked Active Directory users can be distinguished as they do not have a personal role assigned. The role is determined by the group the user is a member of.
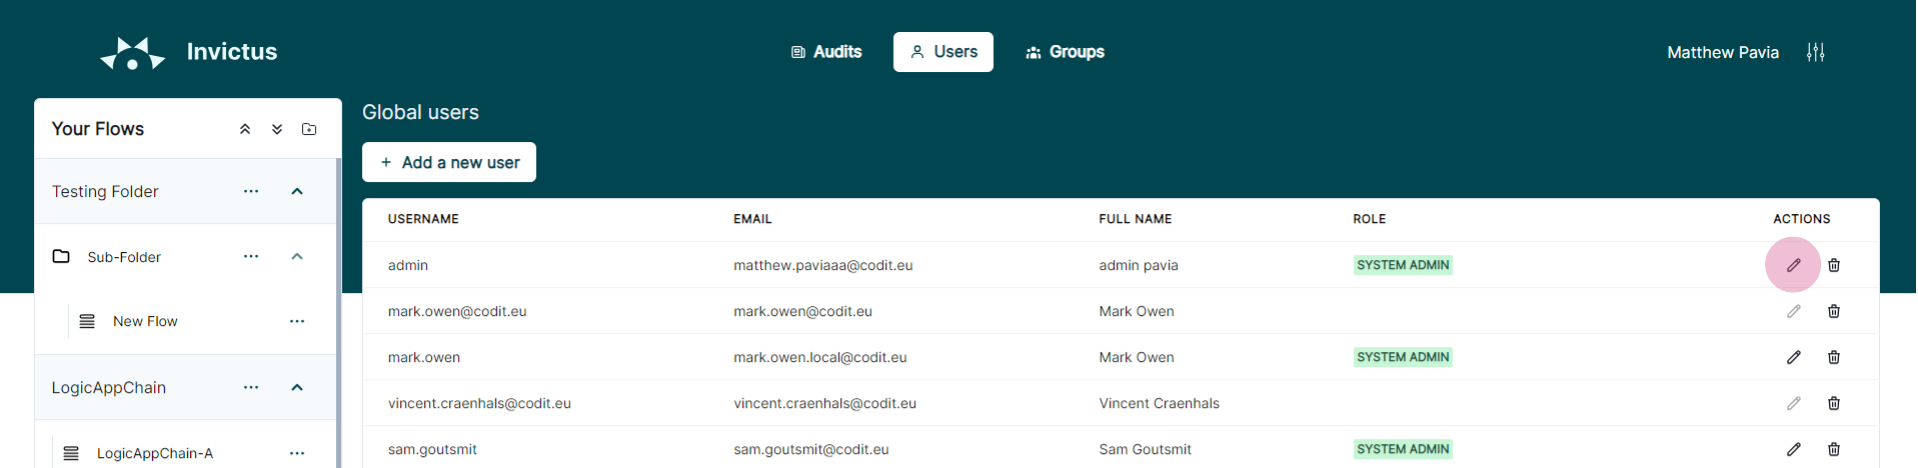
Edit an Active Directory user's role in the Dashboard Only Admins
Active Directory users don't have personalized roles that allow them to access certain flows in the Dashboard. The user role is determined by the Active Directory group(s) where the user is a member of. If the group(s) has access to the flow, so will the user.
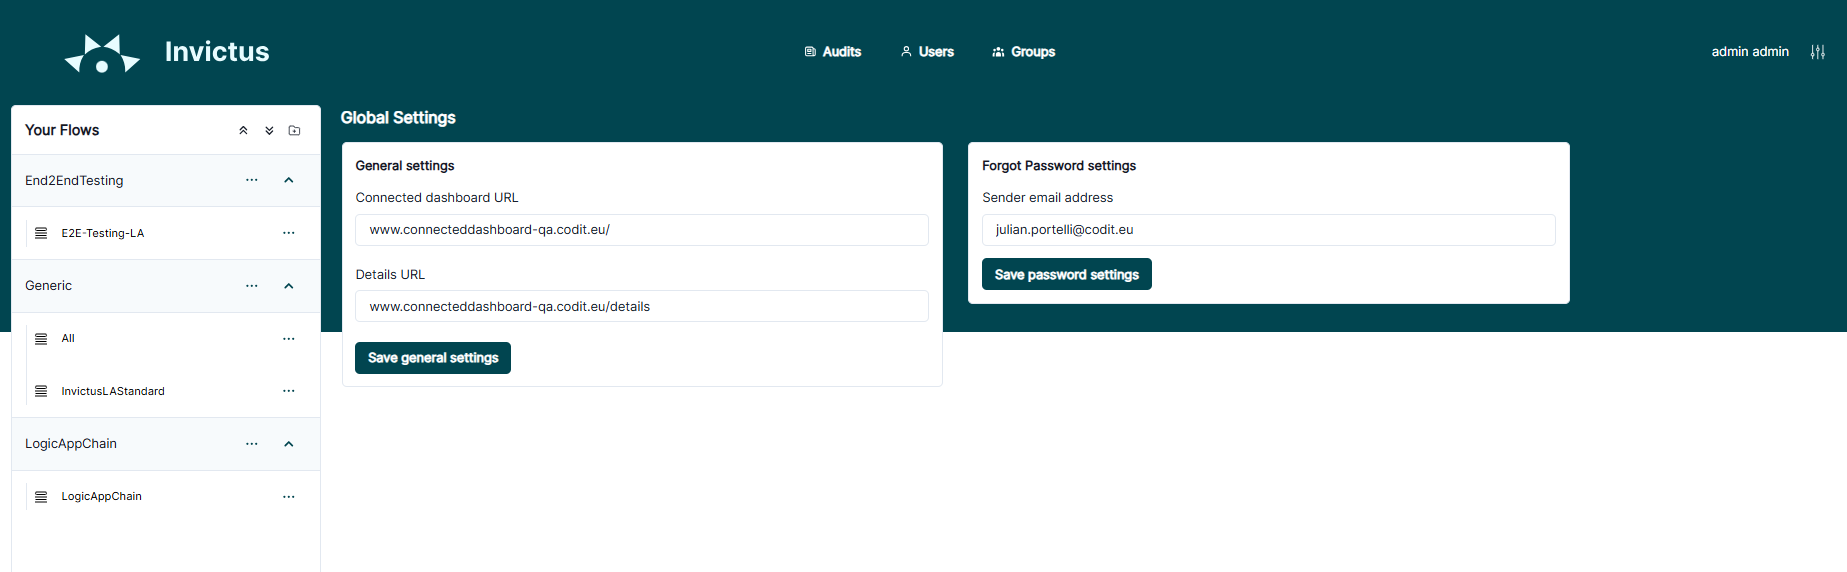
Configure forgot password procedure Only Admins
Before you can use the forgot password feature, you need to create an Azure Active Directory application registration and set it up with the Mail.Send API permissions. This is required because emails can only be sent through an OAuth 2.0 flow.
Please note that the permission granted allows any email address within the organization to be used as the sender.
Local users are entirely managed by the Invictus Dashboard. They can have their own personal permissions assigned and can be deleted at anytime.
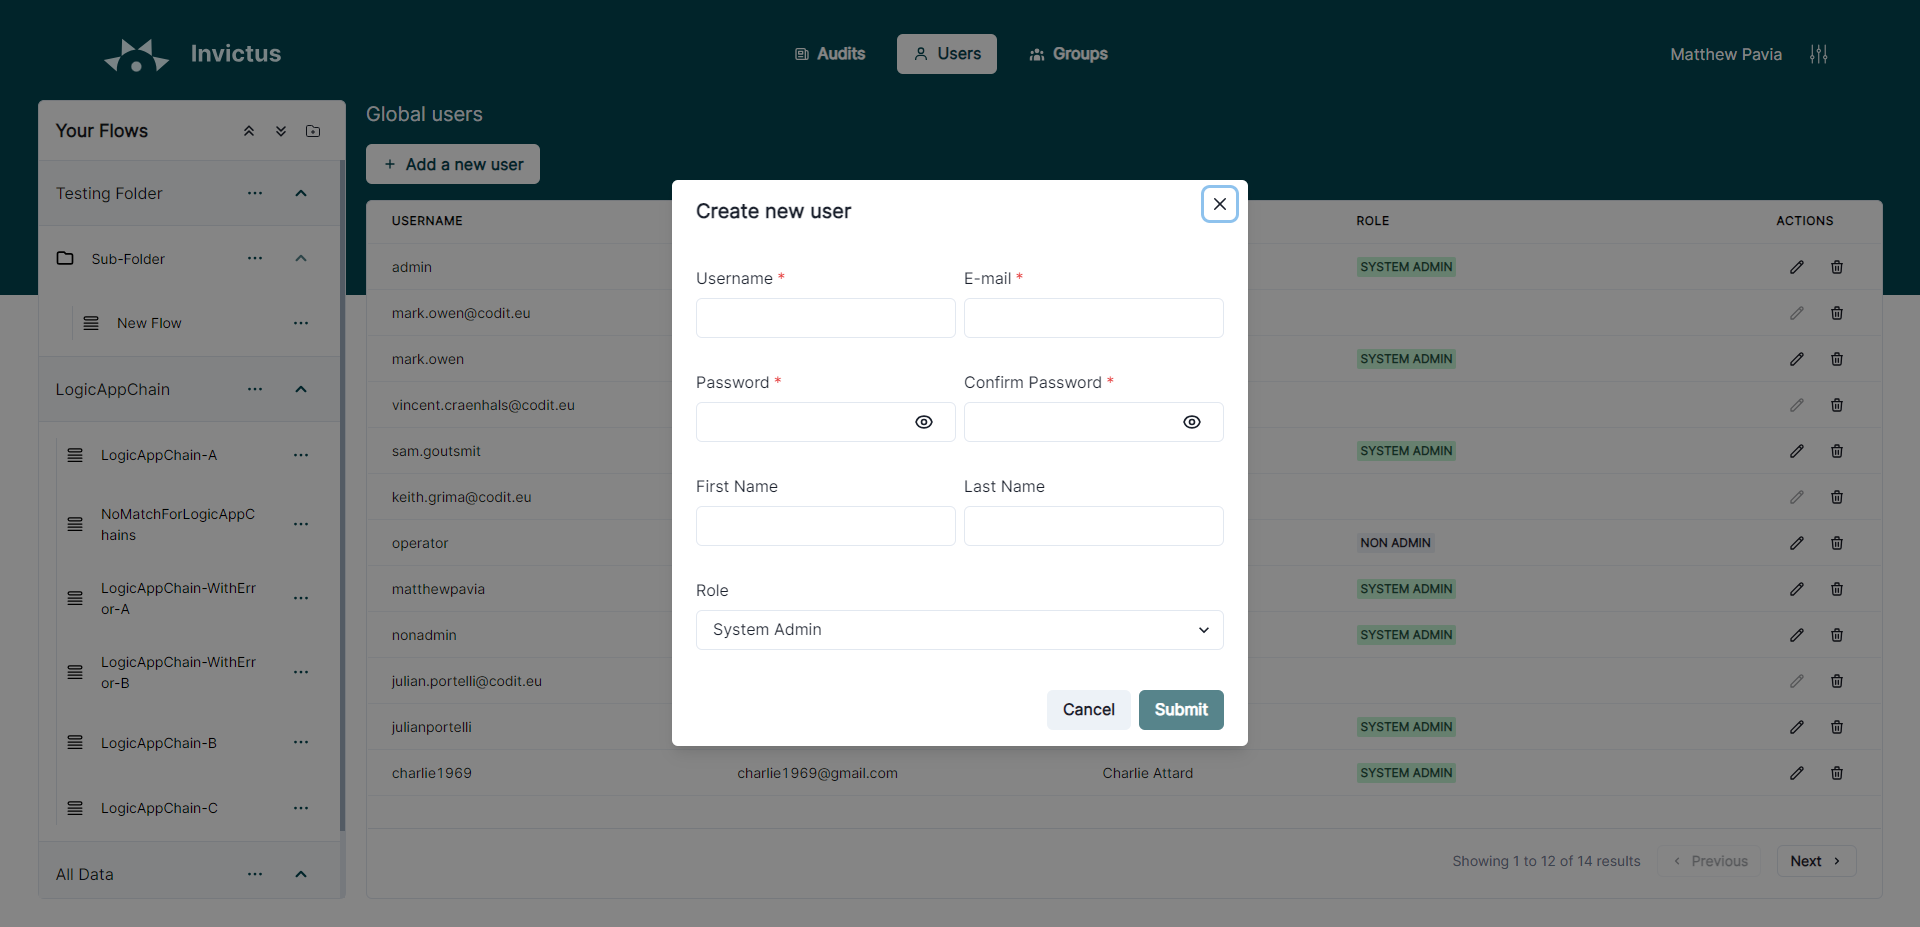
Add a local user to the Dashboard Only Admins
Local users can have a role assigned.
Delete a local user from the Dashboard Only Admins
Local users can be distinguished as they have a personal role assigned.
Edit a local user's role in the Dashboard Only Admins
Local users can have a role assigned.

Configure forgot password procedure Only Admins
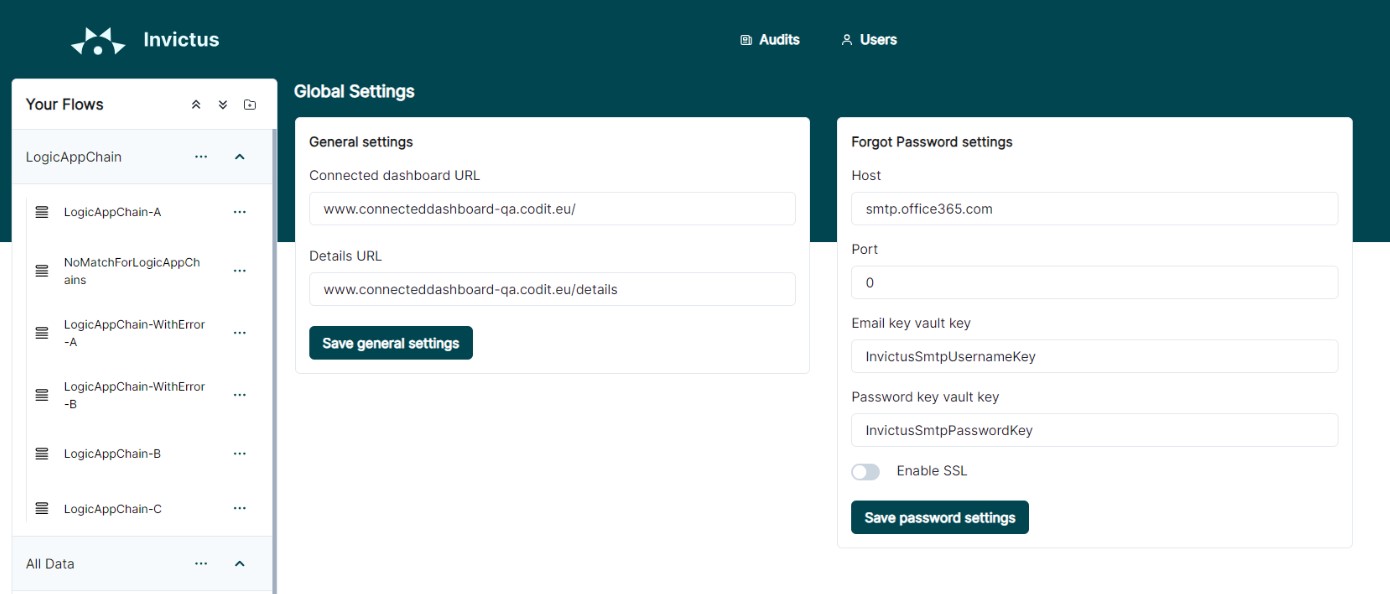
For local users to allow them to run the 'Forgot password' procedure, the following details have to be configured to use to correct email server.
| Forgot password setting | Description |
|---|---|
Host | The host address of the email server from which the sender account originates. For instance, if it's a Gmail email account, the host should be "smtp.gmail.com". |
Port number | The port number for the email server from which the sender accounts originates, default is 587. |
Email key vault key | The Azure Key Vault secret name where the sender email address is stored (points to the Key Vault resource accompanied with the Invictus installation). |
Password key vault key | The Azure Key Vault secret name where the sender email password is stored (points to the Key Vault resource accompanied with the Invictus installation). |
SSL Enabled | It's recommended to enable SSL, as major email providers often require this setting. |